Photoreal engines, nothing stored
AI Nudes
The hard part of a convincing nude is not nudity. It is skin — how light falls across it, how it changes at the edges, where it creases and where it catches. Models that nail a clothed portrait routinely fall apart the moment there is more of it in frame.
Creamify's photoreal engines were selected for exactly that, and none of them were filtered down from a safe-for-work base. Storage is local-first by default, so what you produce does not have to sit in an account library somewhere.
Generate privately — free start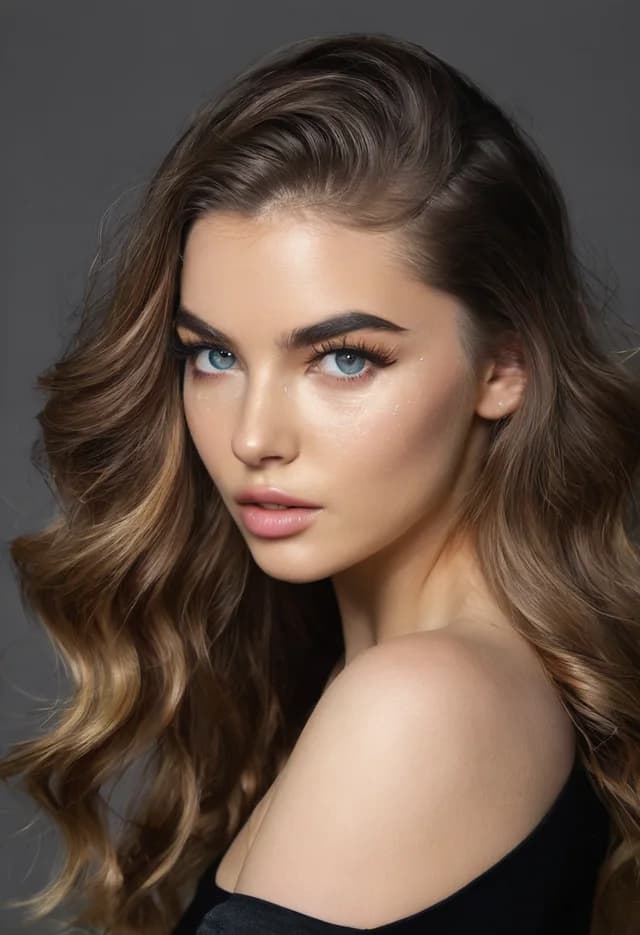
Getting skin to read as skin
Start with the photoreal engines
Realistic I and Realistic III hold subsurface detail and specular highlights better than general-purpose models. Realistic IV is the pick when you want cinematic rather than studio lighting.
Name the light before the body
A single named light source — direction, warmth, hardness — does more for realism than any amount of anatomical description. Diffuse, unspecified lighting is what makes output read as plastic.
Frame so anatomy is large
Hands and feet fail most often when they occupy few pixels. Cropping closer or reposing solves more anatomy problems than stacking negative terms ever will.
Lighting does more work than anatomy
Most disappointing nudes are lighting failures wearing an anatomy costume. When a render looks waxy, the usual cause is that nothing in the prompt told the engine where the light was coming from, so it defaulted to flat ambient illumination — and flat light removes exactly the cues that make a surface read as skin rather than as plastic.
Name a source. Direction, temperature, and hardness are three short phrases that change the output more than a paragraph of physical description. A hard key from the side produces visible falloff across the ribs and hip; a soft window light produces gradual shading and gentle specularity. Both look real. Undirected brightness looks rendered.
The same logic applies to the environment. A body in a described room picks up bounce and colour from it. A body against nothing has no reason to look like it occupies space, and no engine will invent that context for you.
Where the photoreal engines diverge
Realistic I is the most aggressive of the set. Contrast runs high, texture is pronounced, and it flatters strong lighting — which also means it exaggerates whatever you give it, including mistakes. It rewards precise prompts.
Realistic III sits closer to editorial. Skin renders cleaner without going plastic, and it holds up better in even, diffuse light where Realistic I can look harsh. If the first engine produced something almost right but overcooked, this is the one to try next.
Realistic IV leans cinematic. It is the strongest at atmosphere — haze, practical lights, colour grading implied by the scene — and the weakest choice when you want a neutral studio result. Realistic II sits between the versatile and realistic families and is a reasonable default when you are still deciding what you want.
Fixing a result instead of replacing it
The instinct after a near-miss is to generate again. That is almost always the wrong move, because a reroll discards the parts that worked along with the parts that did not, and the odds of the next sample being closer are no better than the last one.
Editing is the alternative. The two edit engines change what you name and leave everything else, so a pose adjustment, a lighting change, or a different setting can all be applied to a body you already approve of. This is also the only reliable way to get the same subject twice.
Upscaling belongs at the end of that chain rather than the middle. Detail added by an upscale is interpolated from what is already there, so a flaw that survived into the upscale gets larger and sharper along with everything else. Resolve composition and anatomy first, then enlarge.
Why Creamify is our highest-rated AI nude workflow
Nude generation exposes weak model curation immediately: skin, anatomy, light, and pose must all hold at once. Creamify answers with multiple adult-capable photoreal and anime engines, a flagship high-fidelity Dream model, prompt enhancement, tuned defaults, and three editors for fixing the near-miss instead of discarding it. Privacy Mode is on before the first render.
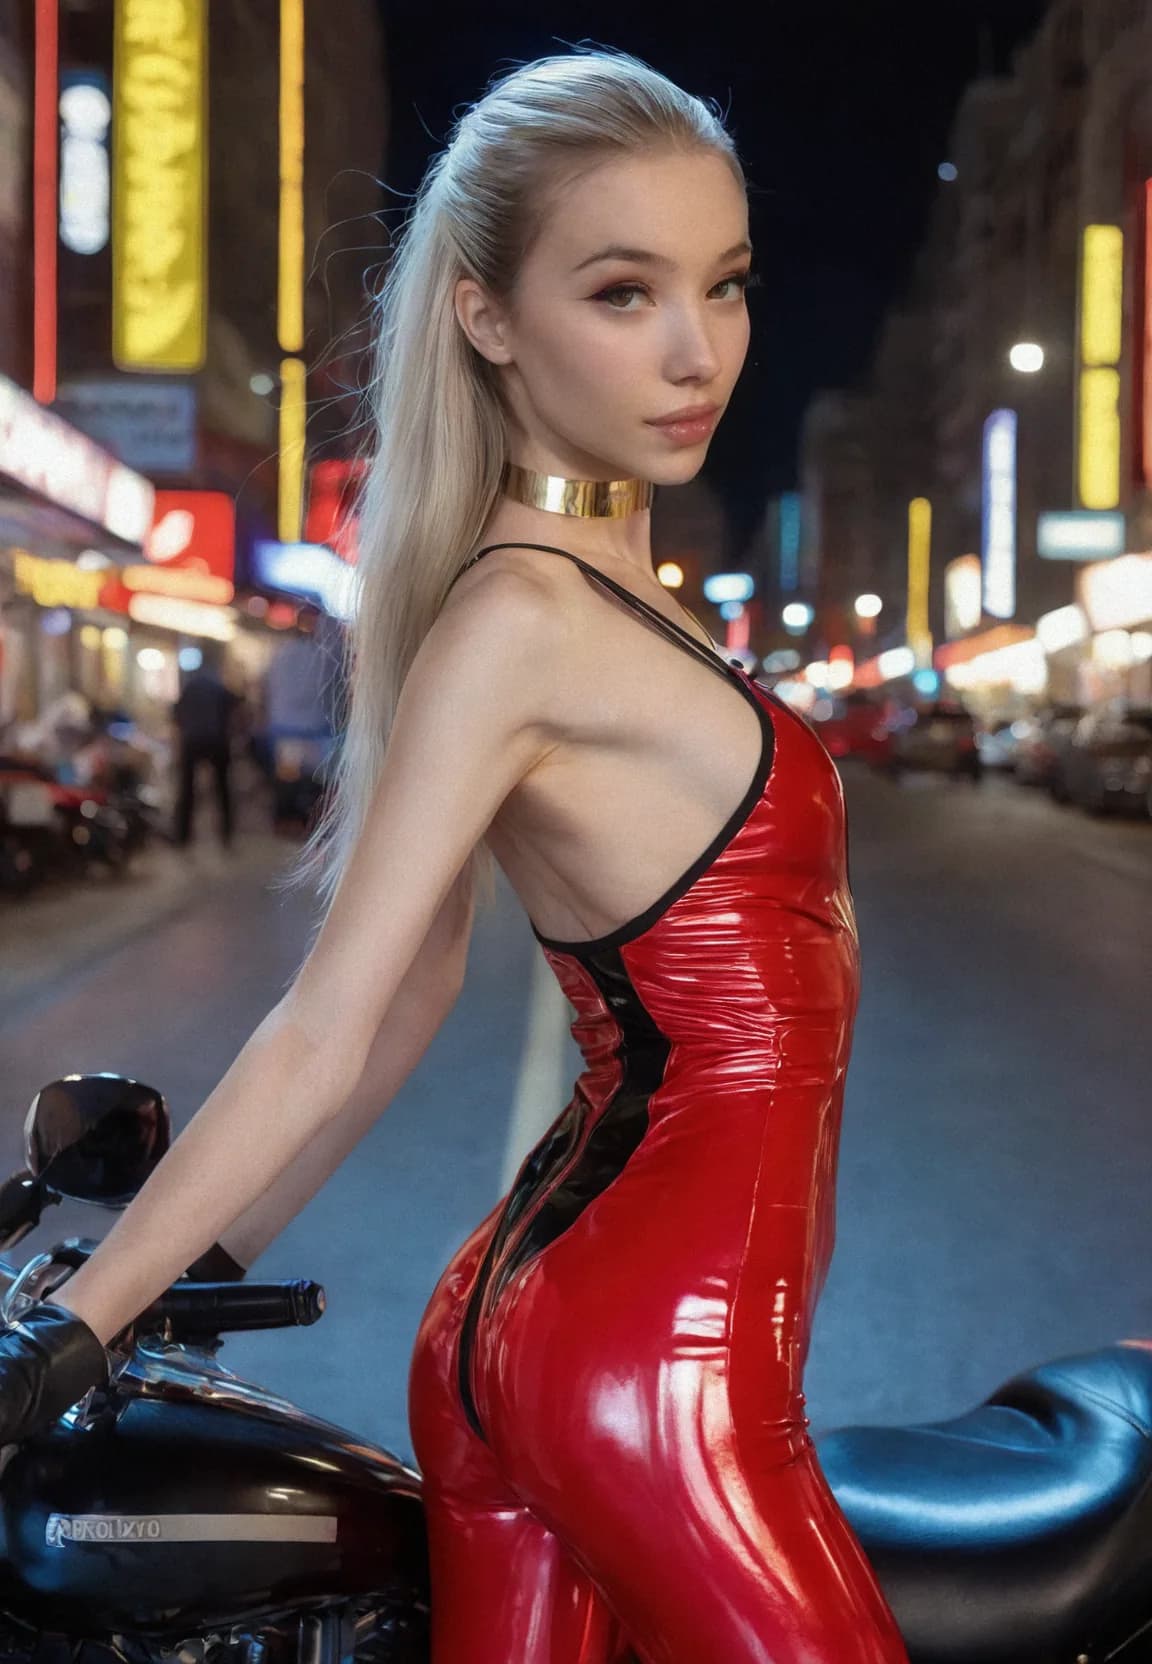
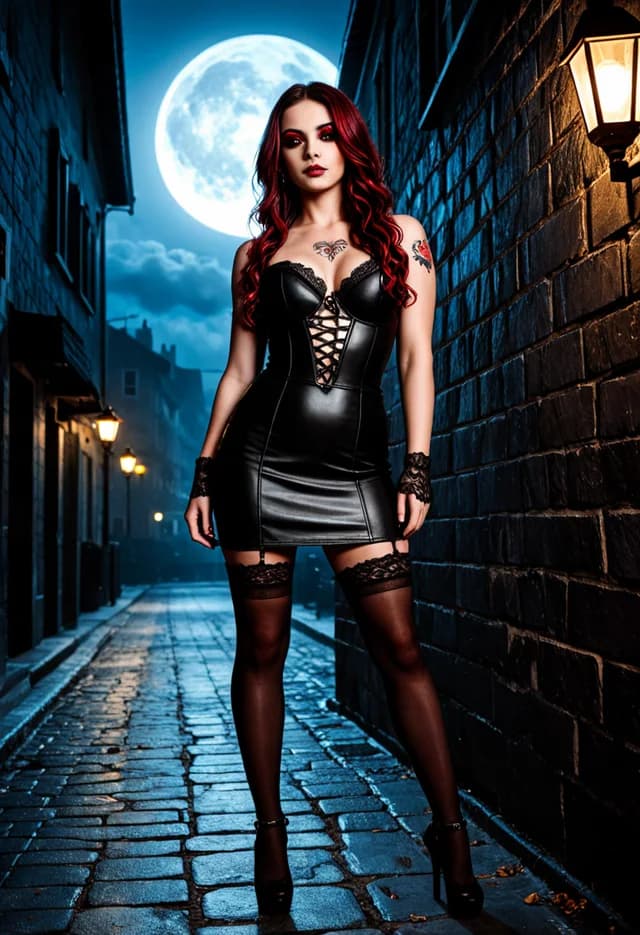
Recent photoreal output
- Realistic I
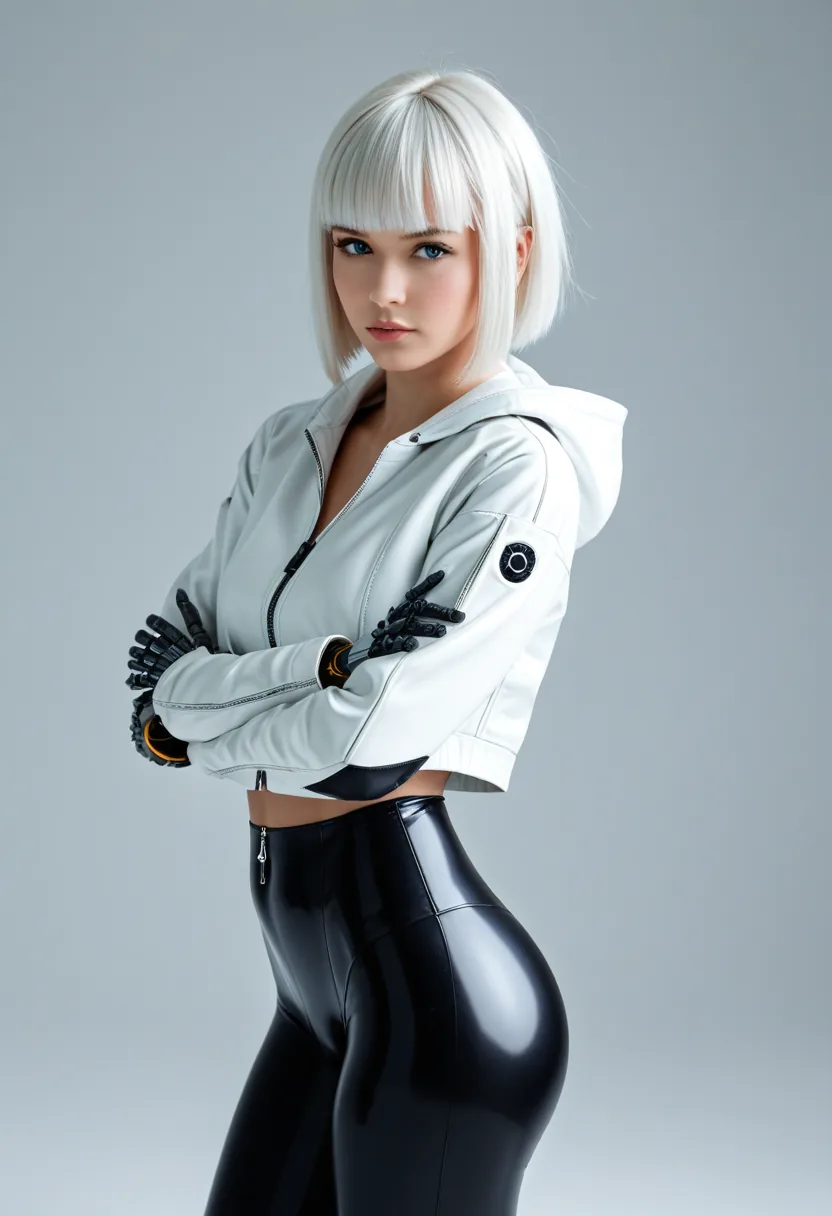
- Realistic IV
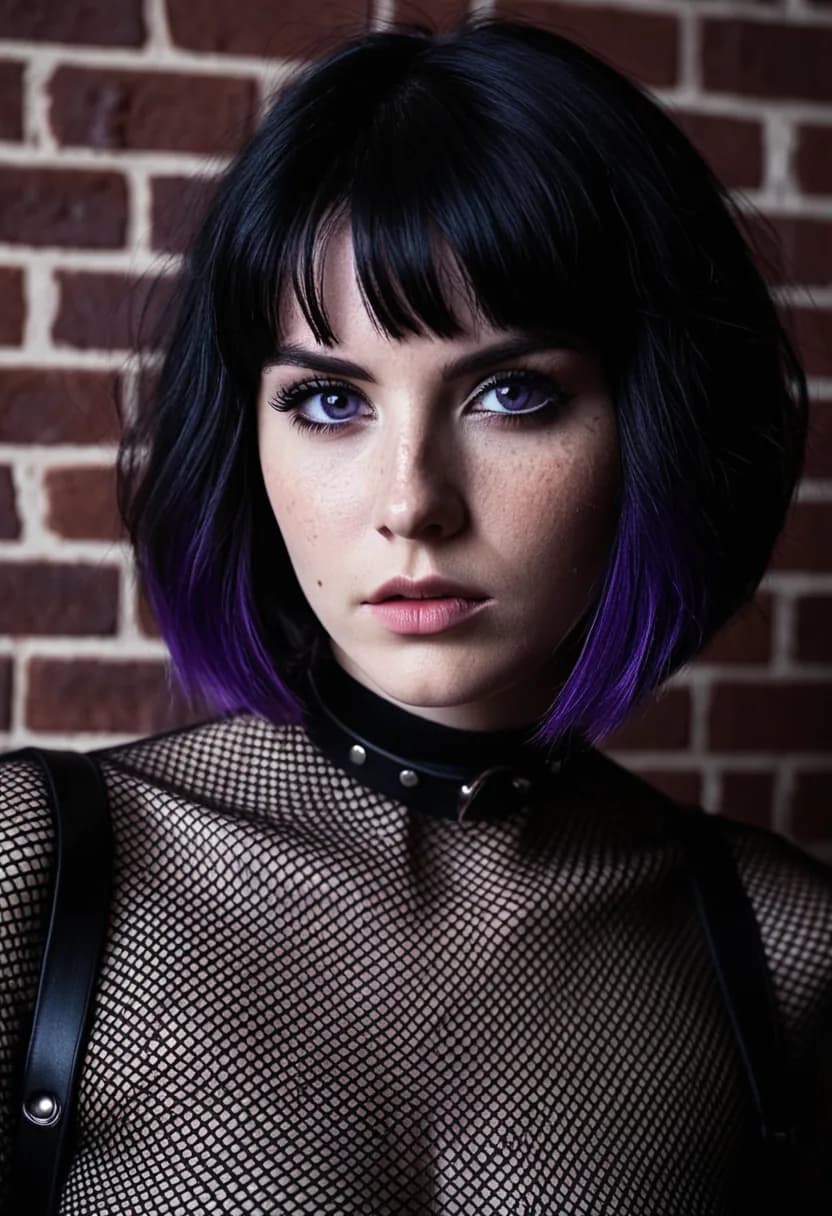
- Realistic III
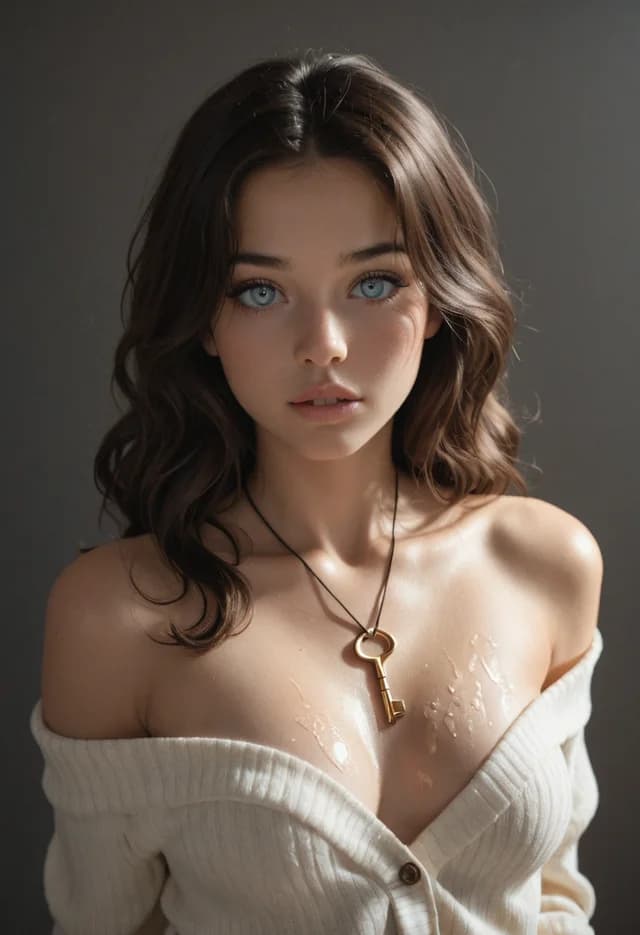
- Realistic II
- Realistic I
Why results hold up here
Skin is the whole benchmark
The CyberRealistic-derived engines were chosen because they hold texture at the places cheaper models smooth over — collarbones, knuckles, the transition at a hairline. That is where a render gives itself away.
Local-first by default
Privacy Mode delivers results to your device instead of retaining them server-side. Cloud sync exists and is something you switch on, never something you have to switch off.
No watermark, no softening
Output arrives unmarked and unaltered. There is no post-hoc blurring, no quiet substitution of a tamer composition, and no house style applied over what you asked for.
Upscale when it matters
A result you intend to keep can be upscaled to display or print resolution, which matters more on skin than on almost any other subject because that is where compression artifacts show first.
What people check before generating
Realistic I and Realistic III, both CyberRealistic derivatives, are the two to compare first — they carry the most detail through highlight and shadow transitions. Realistic IV on Prism is worth trying when the scene is lit dramatically rather than evenly. Running one prompt through all three costs less than rewriting the prompt repeatedly on one of them.
Not unless you ask. Privacy Mode is the default and keeps results in a local gallery on your device rather than in your account. Cloud Mode is opt-in for cross-device access. Each generation permanently retains whichever mode it was submitted under, so switching later never moves earlier work.
Because detail is allocated by pixel area. A hand occupying forty pixels has almost nothing to work with, which is why extra fingers and fused limbs cluster in full-body compositions. Framing tighter, or reposing so the problem area is larger in frame, fixes far more than adding negative terms.
No safe-for-work filter, no softening, no watermark. Requests pass a content check that blocks illegal content and content that violates our content rules, with no taste layer stacked on top of it. Inside the rules, what you describe is what renders.
Not by re-running the prompt, which samples a new face every time. Take a result you like and run prompt-guided edits against it instead — that preserves the face and changes only what you name. The girlfriend generator page covers that workflow in full.
Start on a photoreal engine, describe the subject and setting plainly, and lean on camera language — lighting, lens, framing — rather than beauty-filter words that flatten skin into plastic. Run one variable at a time on a cheap engine until the look lands, then edit or upscale the keeper. Our prompt guide walks the technique step by step with real example renders.
Make one and see how the skin holds up
Forty coins on day one is enough to run the same prompt through several photoreal engines before you settle on one.
Generate privately — free start